 |
| Illustration of a possible skirt outcome The area where the break is is shown in blue. The red part shows the amount of turn. |
Materials:
- basic skirt sloper (pattern of a well-fitting pencil skirt)
- pattern paper (you can use newspaper, butcher paper, paper table cloths, normal paper taped together ...)
- long ruler or other straight edge
- measuring tape
- French curve or a flexible ruler or a piece of washing line
- Trace front and back parts of your sloper (or of your skirt without the seam allowances).aligning the side seams. As this is an asymmetric design you'll need to trace both halves. You'll have shaped darts at the side seams and a "normal" dart in each of the pieces.
- Measure the distance from CFW (centre front front at waist) to how long you want your skirt to be. Shorten or lengthen the centre seam accordingly. Shorten or lengthen al the other seams by the same amount and draw in the new hemline.
- Measure the hip measurement (play at connecting the dots with the apexes of the darts) and divide this measurement by six. Dolly's hip measurement is precisely 14 cm. This gives me a result of 2.3333 cm. I will round this measurement up to 2.35 cm. Please remember that you should never round your measurements down.
- Start shifting the darts and side seams by folding the pattern in one place and adding the same amount somewhere else. This works because you don't have any sharp angles in your body so you can shift the darts a little bit.
- Decide on where the break should be by measuring down from your waist. Draw this line on your pattern paper. It should be the same distance from all the darts. NOTE: The break line can only be as far away from the hem as half the distance from hem to dart apexes.
 |
| This is roughly what the skirt sloper for Dolly looks like. As it is only knee length I lengthened it to just above the ankles. |
 |
| The red lines show where I will add length and the green lines show where I will take some away. |
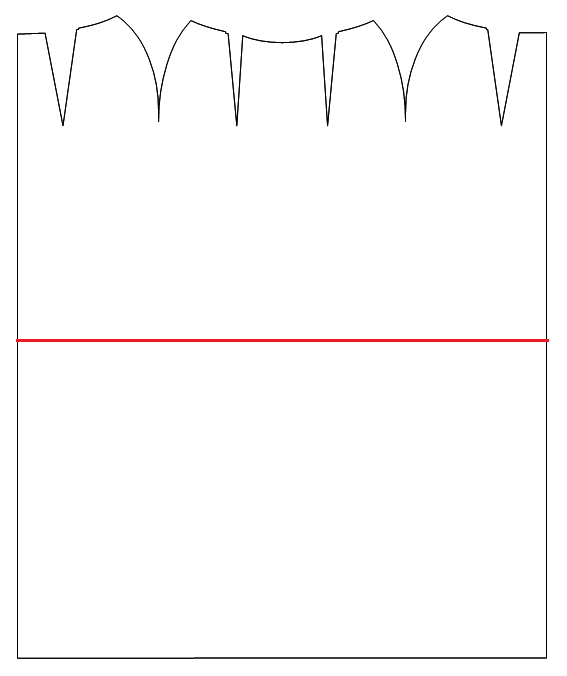 |
| I choose to have the break in the middle. |
So much for today. I'll have the rest for you within two days.
Butterfly
0 comments:
Post a Comment