Showing posts with label geometric skirts. Show all posts

Sunday, 8 July 2012

I will spare you the photos

Beautifully finished with a double zig zag*

After sewing so many toiles of my dress I finally felt ready to sew my real fabric. I don't know why but I was terrified of that fabric. I have already (successfully) sewn more expensive fabrics, more slippery fabrics, fabrics that where more prone to fraying and any other hardship you might think of. But this fabric truly scared me.
Quiz question: How much fun is turning a corner with this fabric? I actually poked  a n 8 mm knitting needle right through several times. How can this even happen with such a tight weave?

So after psyching myself up with all those toiles I told myself to get a grip and just cut into the cloth already. And so I made lots of notches and hand basted all my seams (even the straight ones), tried out the best tension settings and stitch length on a scrap piece of fabric. Then I decided that sewing the lining first really wouldn't be procrastinating. 
One of my favourite seam finishes: Fold and stitch. In this case a zig zag stitch on the lining seams.

When I finally started sewing I was still afraid. And there was this nagging doubt that things would work out as nicely as in the muslins. But I kept sewing anyway. And then I tried the dress on. And quelle horreur! It has stress lines in places none of my muslins or the lining had them. And a ripply zip fastner! The zip was fine on just the lining and I had a notch every 5 cm to match up my seams. And for some reason you can see the facing peeking out in some parts!

No rippling when  lying flat. Also: This fabric can only be sewn once and I had already started unpicking here. Hence the pulled treads.
As fate would have it I all that procrastinating meant that I had to wear the dress out ripply zip and all. I had a great night and I got a lot of compliments on the dresses colour and cut and even more for being able to sew something like that. But I felt like Everyone was staring at my back and the ripply horrors there!
Couldn't they have noticed my perfect rolled hem instead? Both from the wrong side.
And the right. Isn't the fabric beautiful? Even  though the colours are of ...
The question remains: What am I going to do with the back. I have a feeling that a cool pin tuck design might help. But if it doesn't I'll have completely ruined the fabric.

Butterfly

*Once again sorry for the bad picture quality. I couldn't find the cable for my camera so I took all the pictures again with my phone.

Monday, 7 November 2011

A fitting question

For the next pattern drafting step I'd have to use my own sloper. Unfortunately it doesn't fit any more :(A mixture of dancing and stomach flu has caused me to slim down. I didn't actually loose weight. It's more like putting on muscles in the calf, thighs, but, lower abs .... okay everywhere. Even the bottom of my feet!

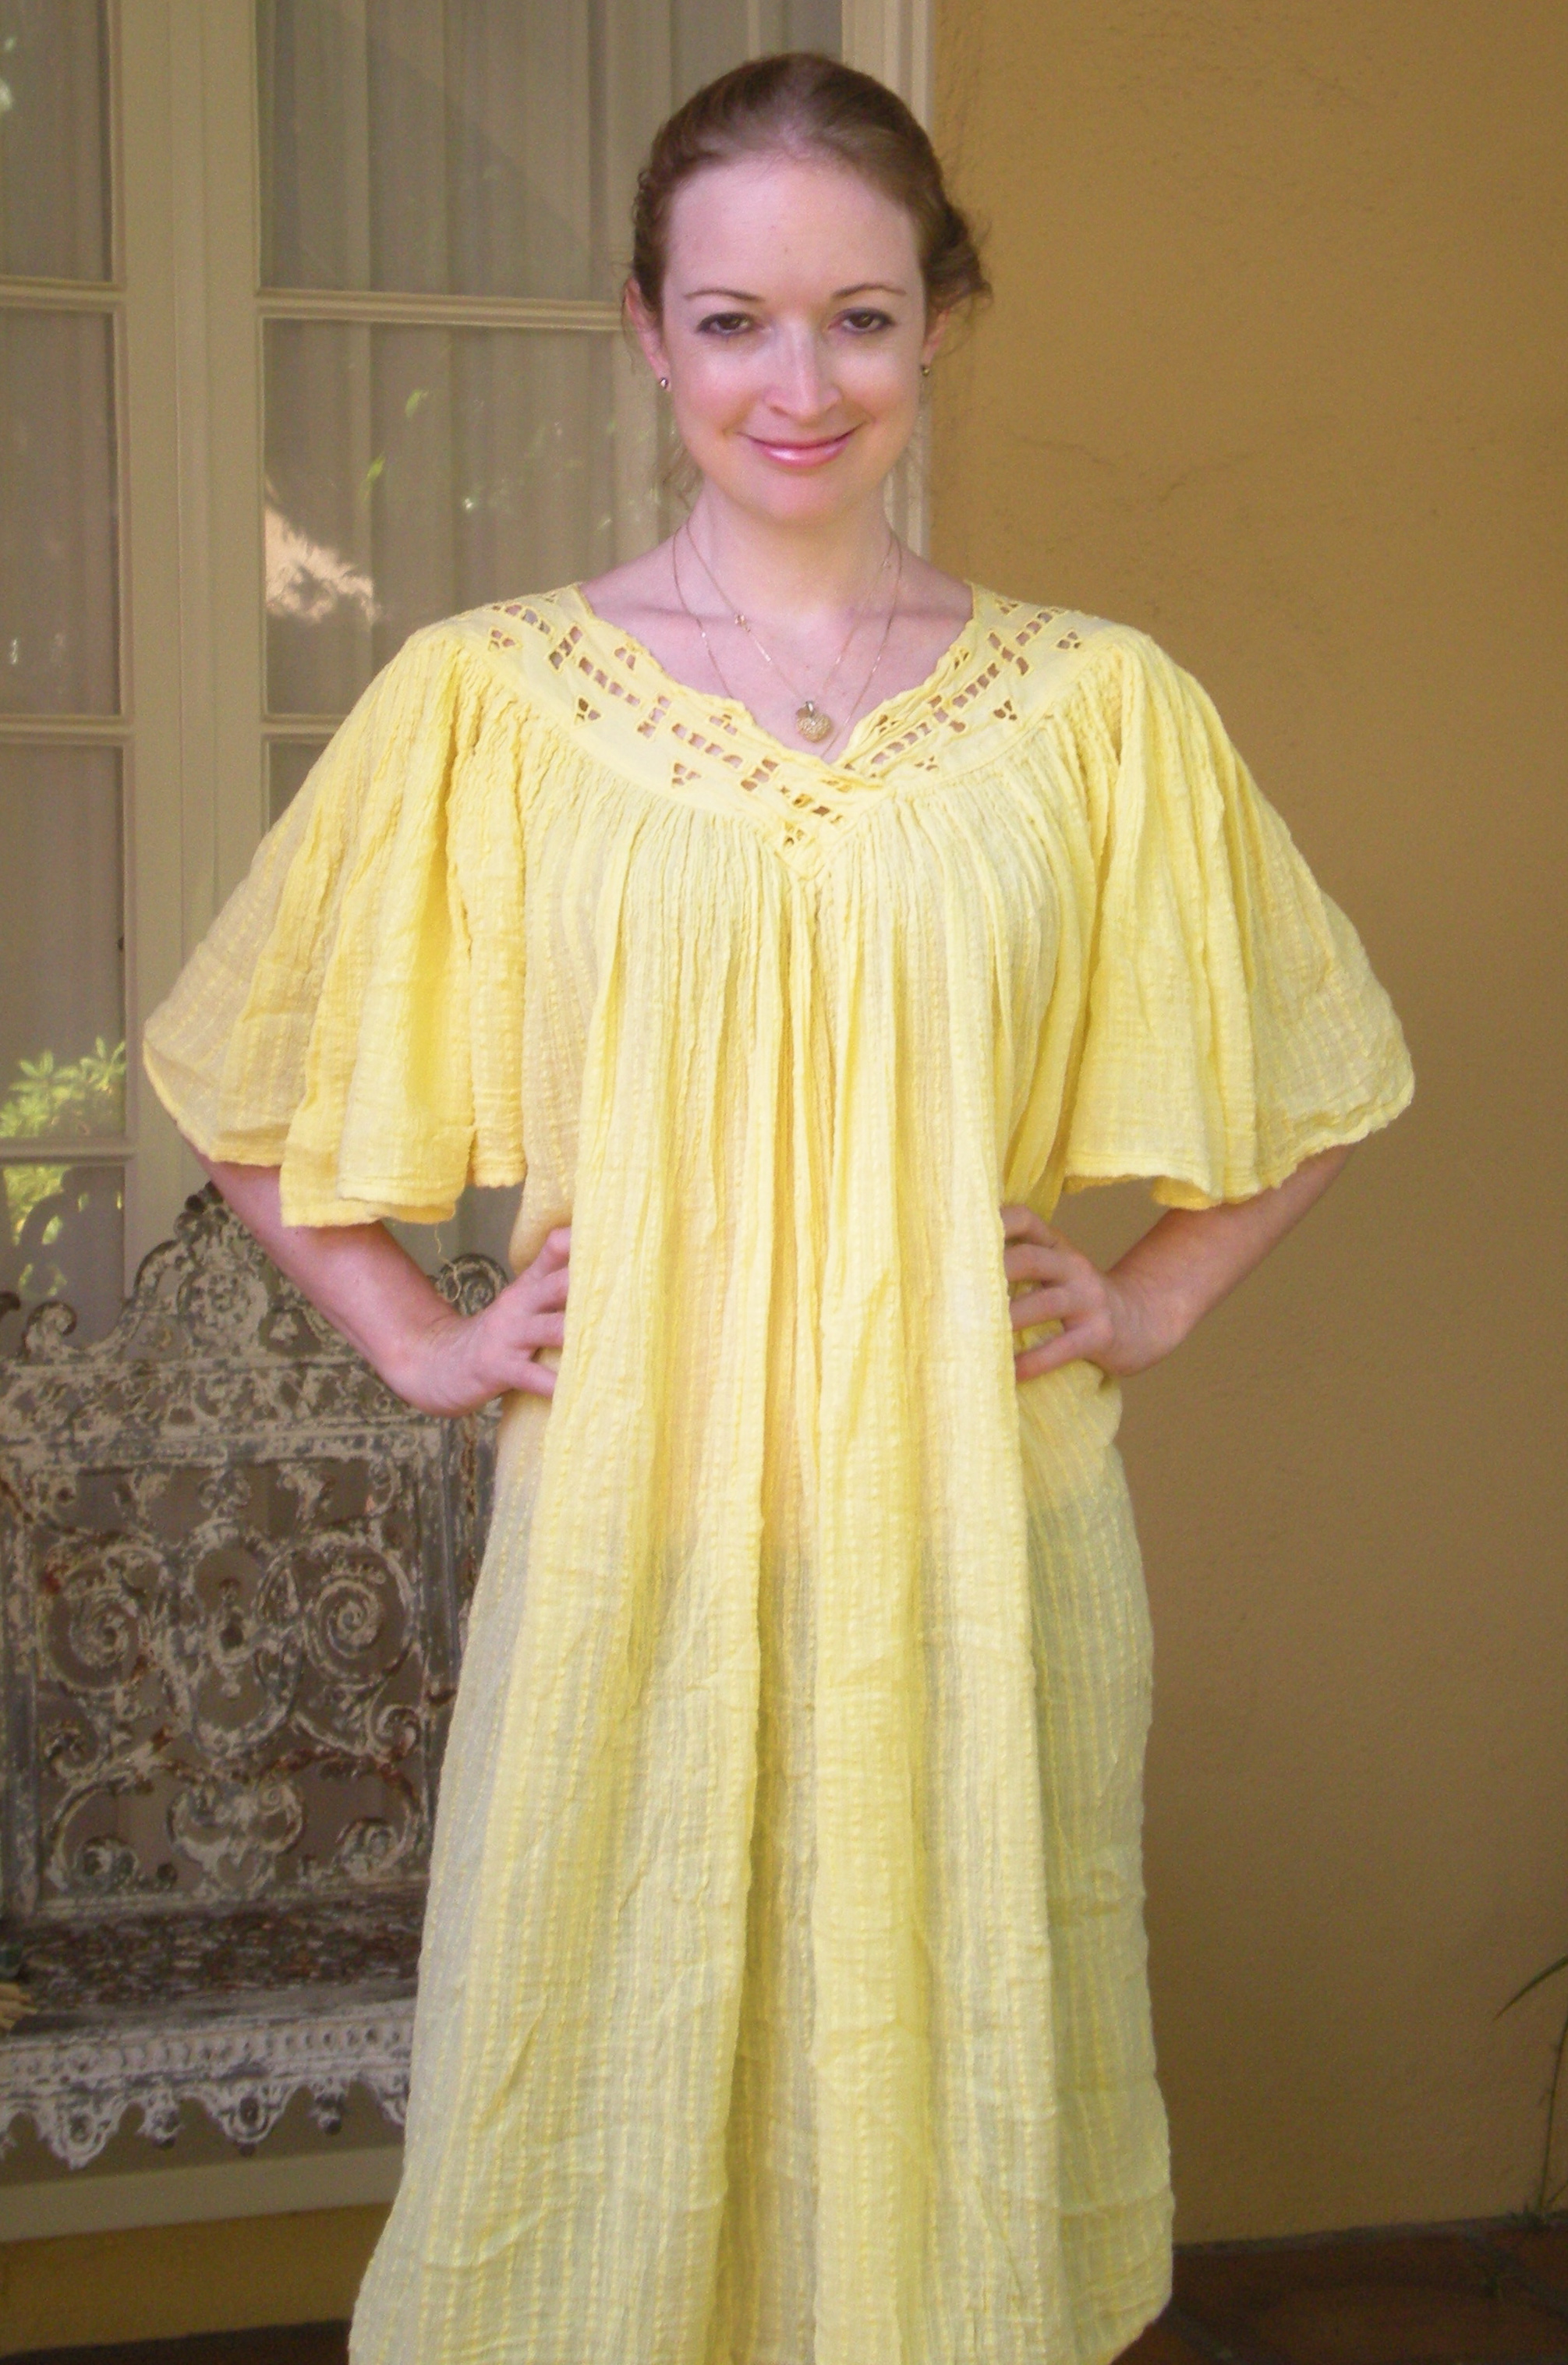
But I digress. The point is that I feel like I'm wearing this when I put on a "dress" made from my sloper. I nicked the pic from the lovely Marissa at her wonderful blog. You should really check it out if you haven't done so yet. This dress for example gets transformed into the cutest thing ever.
The really important question now: Should I draft new slopers (again!?) and make my skirt pattern from those? Or should I hope to put on weight again and make it from my old sloper?

Oh and just because I love stealing pictures I find on the Internet and sharing them with you. This is what a blogger suggested to put on clothing labels:

Wednesday, 26 October 2011

Not so Spirally Spiral Skirt -Drafting Part 2

This is the best resemblance of me I could find. I was down the past few days, I still don't want to eat anything. I have moved from PJs  to extremely soft jeans though. Enough whining from me and on with the tutorial!

Last time we got as far as drafting the position of the break. Today we'll shift the dart control so you don't end up with a bag that shows your undies for a skirt :P!


  1. On your break line draw in the points directly underneath your dart apexes. 
  2. Then draw a straight line from apexes to hem. This line should go through the dart apex and the point of the right-side neighbour on the break line (If you want the skirt to spiral in the opposite direction you can just flip the entire pattern around at the end.).
  3. Shift the darts as shown in the diagrams.
I couldn't find an elegant way to pivot the shaped darts and keep the seam straight. I'm sure there is a method though. I just have to find it. For this it doesn't matter all that much. The skirt is cut on the bias. Well the non-true one anyway. I'll explain about that next time.

So much for today. I'm going to make myself another cup of tea.

Butterfly

Monday, 24 October 2011

Straight Seamed Spiral Skirt - Drafting Part 1

Illustration of a possible skirt outcome
The area where the break is is shown in blue.
The red part shows the amount of turn.


Here is the promised tutorial on how to draft and sew a skirt with gores that wrap around the wearer. I will show you how to do a skirt with 6 gores. This is the easiest thing to do, as you won't have to shift the darts around to much.

Materials:
  • basic skirt sloper (pattern of a well-fitting pencil skirt)
  • pattern paper (you can use newspaper, butcher paper, paper table cloths, normal paper taped together ...)
  • long ruler or other straight edge
  • measuring tape
  • French curve or a flexible ruler or a piece of washing line


Procedure:

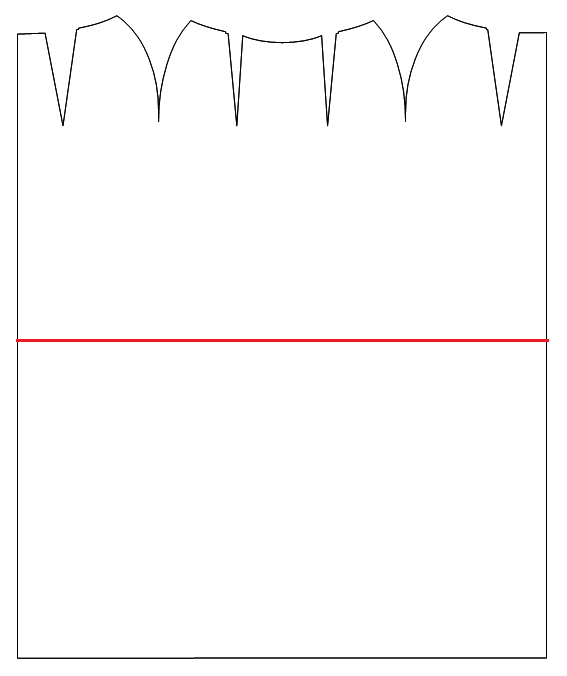
    This is roughly what the skirt sloper
    for Dolly looks like. As it is only
    knee length I lengthened
    it to just above the ankles.
  1. Trace front and back parts of  your sloper (or of your skirt without the seam allowances).aligning the side seams. As this is an asymmetric design you'll need to trace both halves. You'll have shaped darts at the side seams and a "normal" dart in each of the pieces.
  2. Measure the distance from CFW (centre front front at waist) to how long you want your skirt to be. Shorten or lengthen the centre seam accordingly. Shorten or lengthen al the other seams by the same amount and draw in the new hemline.
    1. The red lines show where I will
      add length and the green lines
      show where I will take some away.

    2. Measure the hip measurement (play at connecting the dots with the apexes of the darts) and divide this measurement by six. Dolly's hip measurement is precisely 14 cm. This gives me a result of 2.3333 cm. I will round this measurement up to 2.35 cm. Please remember that you should never round your measurements down.
    3. Start shifting the darts and side seams by folding the pattern in one place and adding the same amount somewhere else. This works because you don't have any sharp angles in your body so you can shift the darts a little bit.
    4. I choose to have the break in
      the middle.
    5. Decide on where the break should be by measuring down from your waist. Draw this line on your pattern paper. It should be the same distance from all the darts. NOTE: The break line can only be as far away from the hem as half the distance from hem to dart apexes.
    So much for today. I'll have the rest for you within two days.

    Butterfly